In the pantheon of first-person shooter history, few titles hold as sacred a place as Counter-Strike 1.6 . Released in 2003, it became the gold standard for competitive tactical shooters. Yet, alongside its rise, a silent arms race was unfolding—not with bullets, but with code. Among the most infamous tools in this war was the "OpenGL wallhack."
Unlike modern, kernel-level cheat engines, the CS 1.6 wallhack was a beautiful piece of graphics pipeline exploitation. It didn't "hack" the game; it tricked the renderer. This article dissects the mechanics, the code, and the cat-and-mouse game that defined an era. To understand the hack, you must first understand the canvas. Counter-Strike 1.6 (built on the GoldSrc engine, a heavily modified Quake engine) offered two renderers: Software (slow, CPU-bound) and OpenGL (fast, GPU-accelerated). opengl wallhack cs 16
Today, it serves as a historical artifact. For security researchers, it’s a lesson in why render pipelines must be opaque. For gamers, it’s a reminder of a lawless era before sophisticated anti-cheats. And for developers, it stands as the definitive proof that any data sent to the GPU can eventually be manipulated. In the pantheon of first-person shooter history, few
This article is for educational purposes only. Manipulating game clients violates the Terms of Service of all major gaming platforms and is considered cheating. Among the most infamous tools in this war
In normal rendering, OpenGL performs a depth test . When a wall is drawn in front of a player, the wall's pixels pass the depth test (they are closer), while the player's pixels behind it fail. The GPU discards the player's pixels.
The wallhack reverses this logic. By hooking the glDepthFunc or glEnable(GL_DEPTH_TEST) calls, the cheat changes the comparison function. Instead of GL_LESS (draw if closer), it uses GL_ALWAYS (draw regardless of depth). The result: The player model is rendered on top of the wall, creating the iconic "ghost" silhouette. // Original game call: glDepthFunc(GL_LESS); // Hooked function: void hooked_glDepthFunc(GLenum func) { if (isRenderingPlayerModel) { // Force depth test to always pass original_glDepthFunc(GL_ALWAYS); } else { original_glDepthFunc(func); } } Part 3: Chams – The Visual Upgrade A simple wireframe wallhack is hard to see. Enter "Chams" (short for Chameleons). Using glColorMaterial and glTexEnv , the cheat disables texture mapping on player models and replaces it with a bright, solid color (e.g., neon green or pink).
Cheaters gravitated toward OpenGL for one critical reason: OpenGL does not "know" it is rendering a wall or a player; it only knows it is rendering triangles with specific textures, depths, and blend modes. By intercepting the communication between CS 1.6 and the GPU, a hacker could alter the rendering logic in real-time. Part 2: The Core Trick – Depth Buffer Manipulation The classic "wallhack" in CS 1.6 does not remove textures or make maps transparent. Instead, it exploits the Depth Buffer (Z-Buffer) .
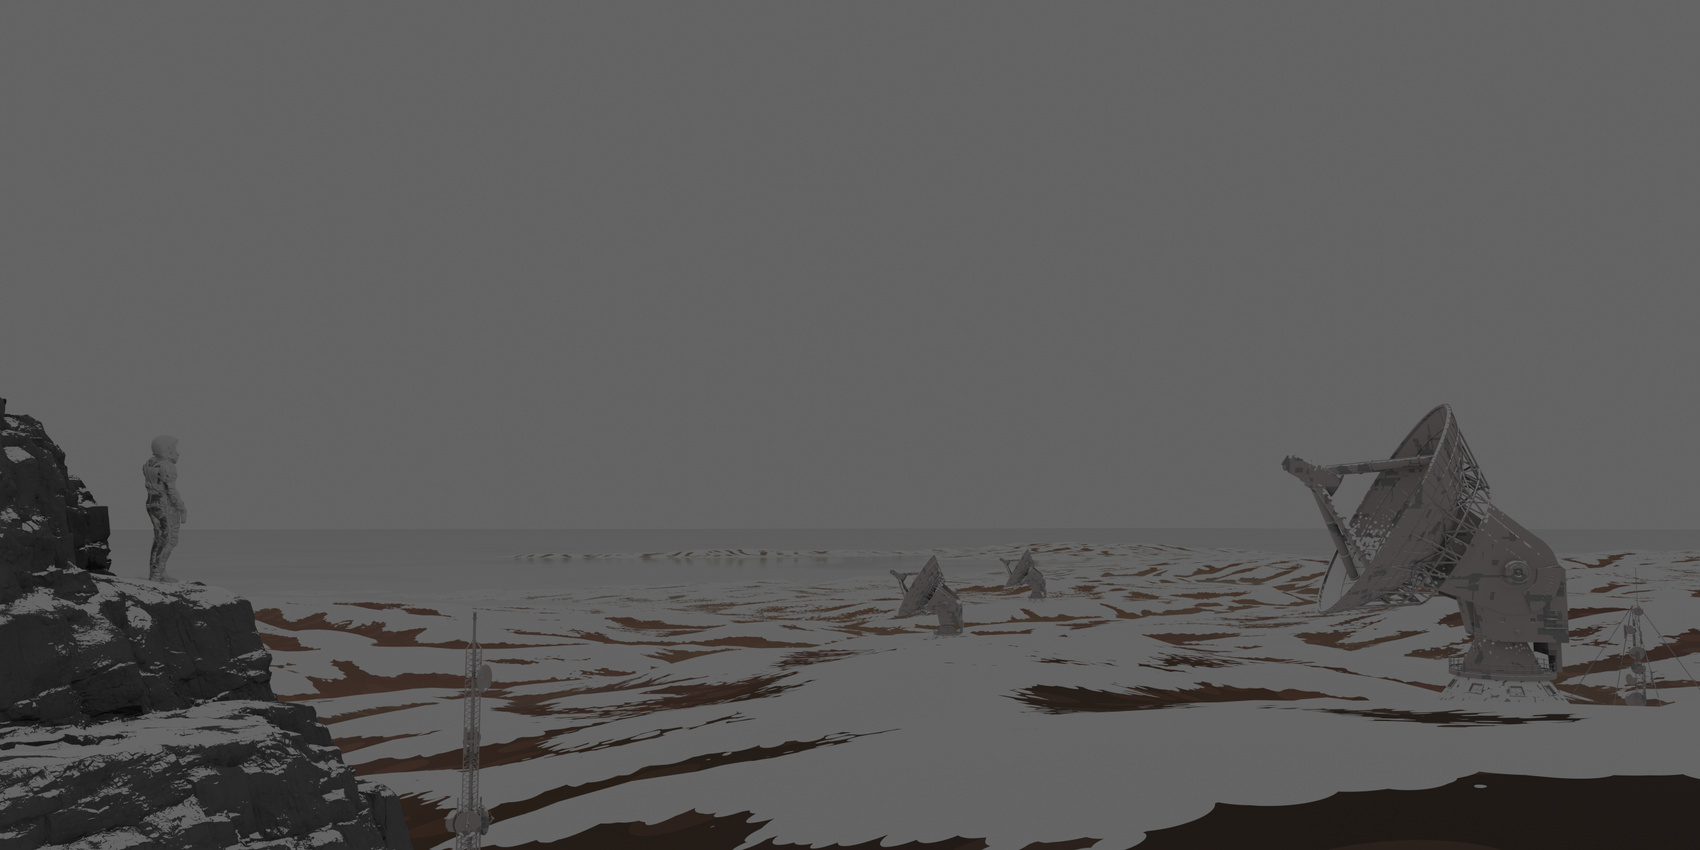
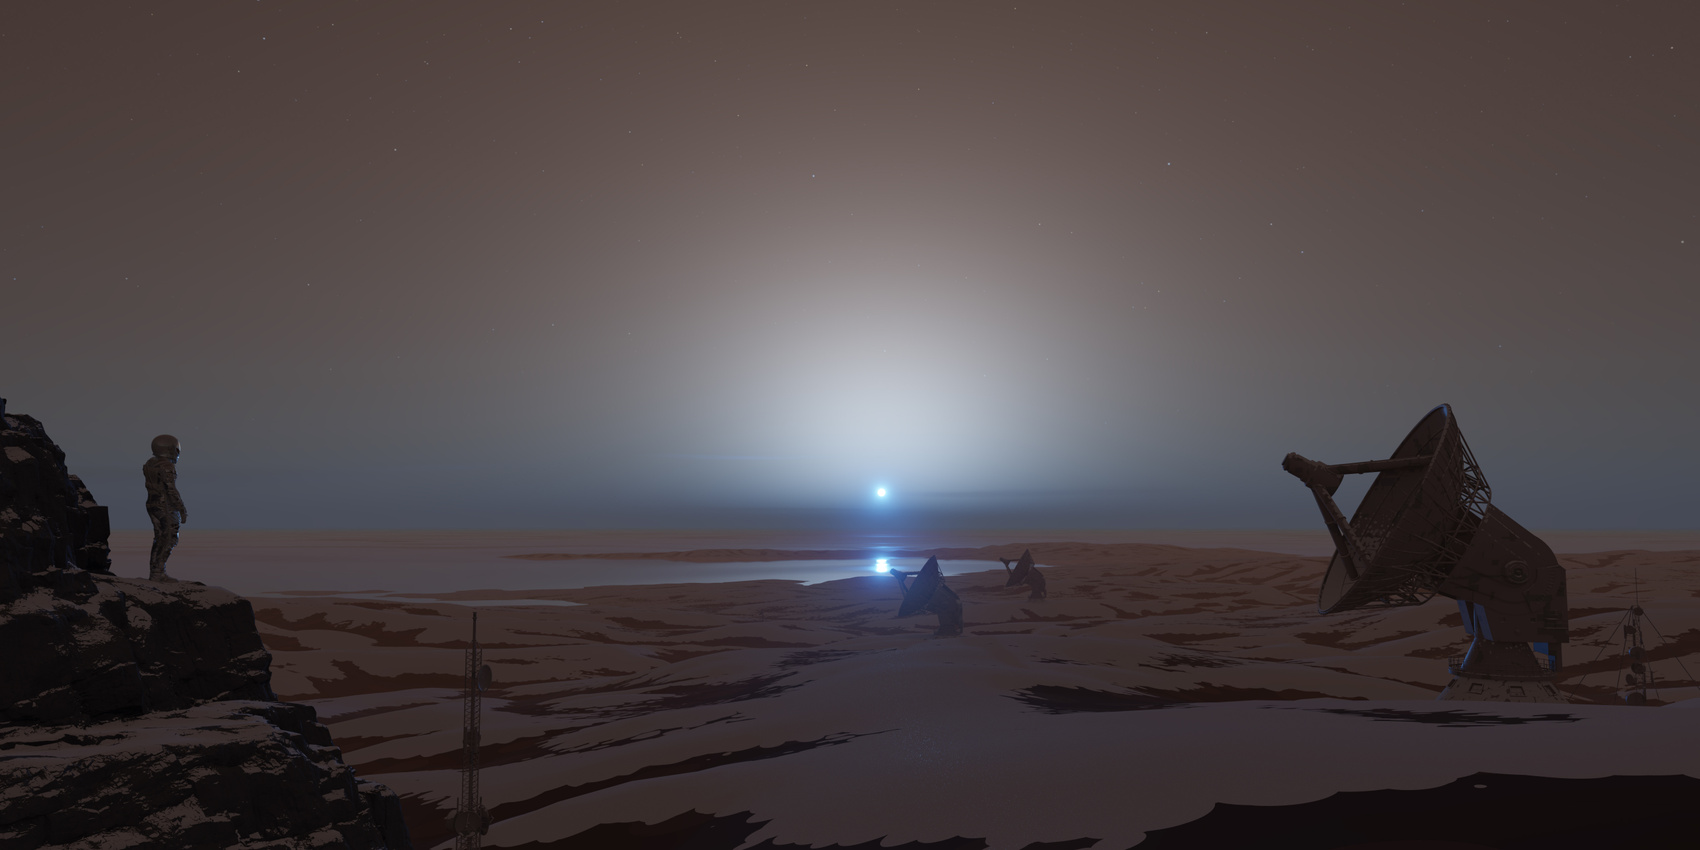
This addon saves hours that usually are invested in manually creating sky, atmosphere and placing sun object and stars, and automates it within a single click.
We have more than a decade of experience with atmosphere rendering techniques in computer graphics industry. Physical Starlight and Atmosphere addon is used in entertainment, film, automotive, aerospace and architectural visualisation industries.
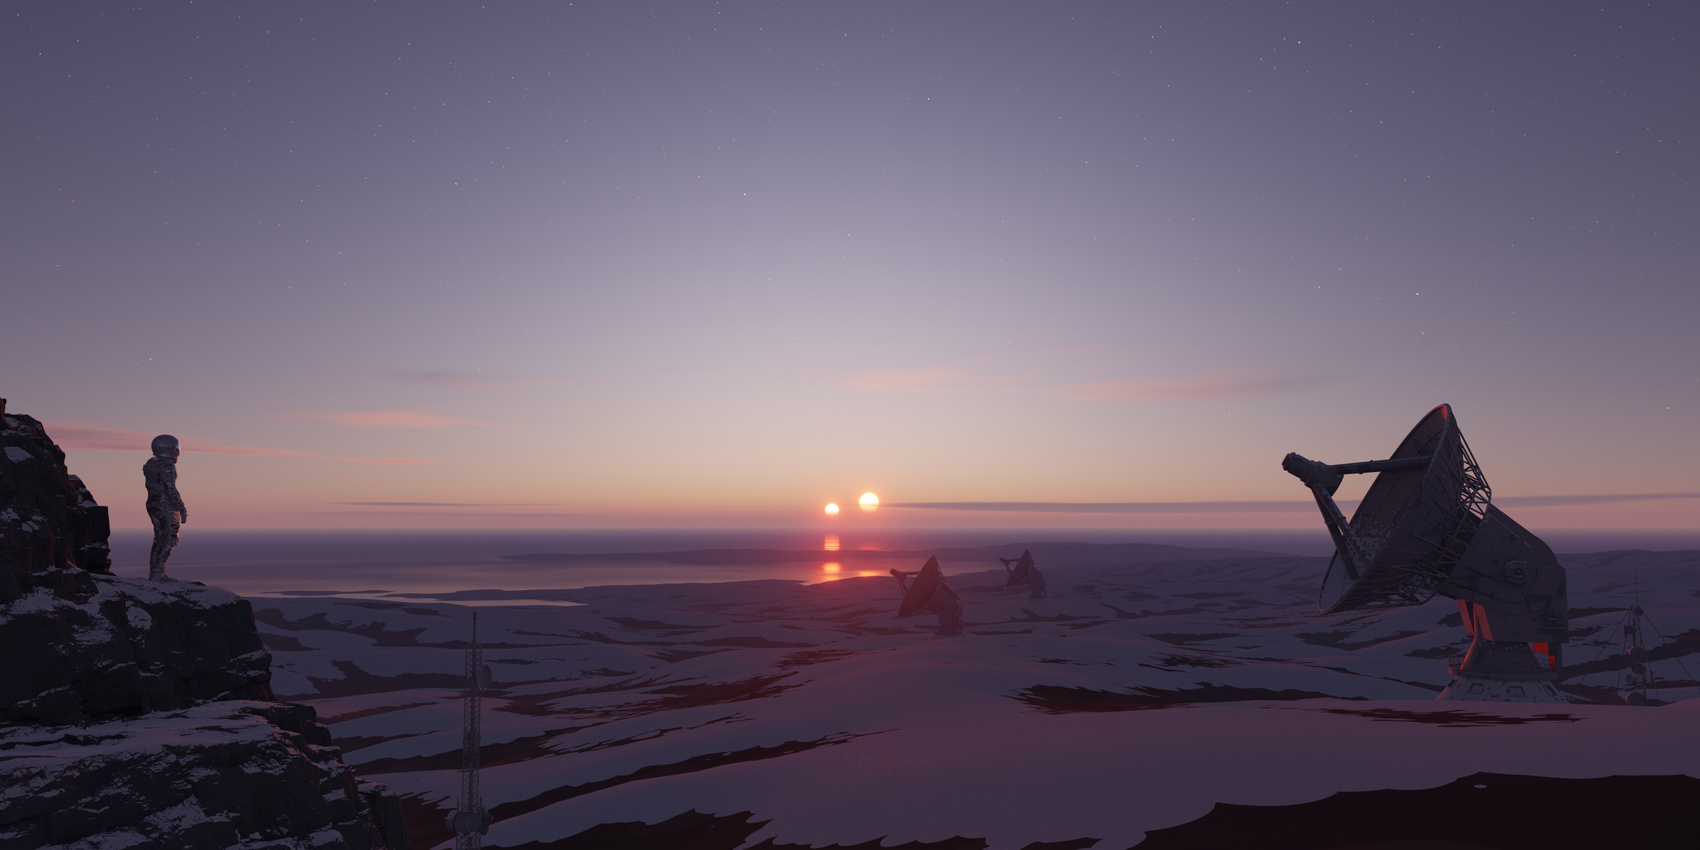
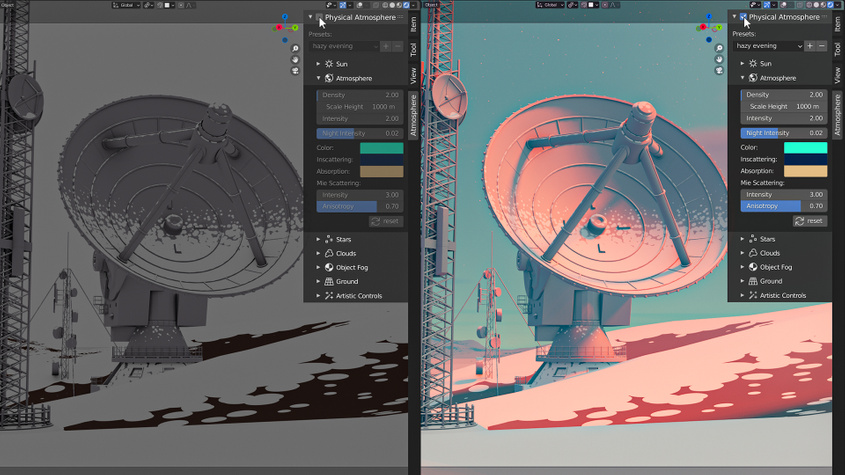
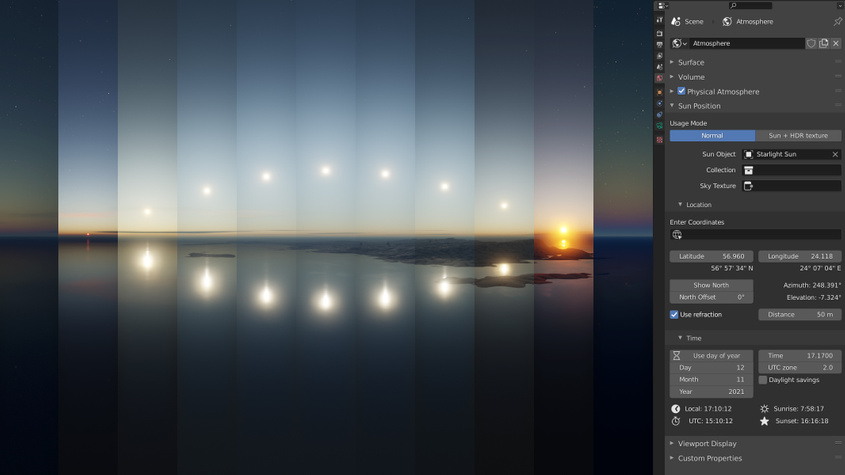
Presets allow to store a snapshot of your customized atmosphere settings and return to it later or use already predefined presets provided by the addon.
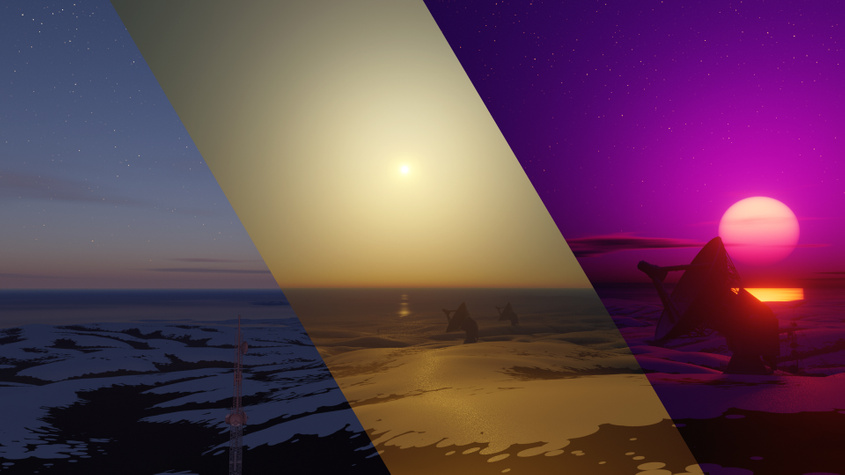
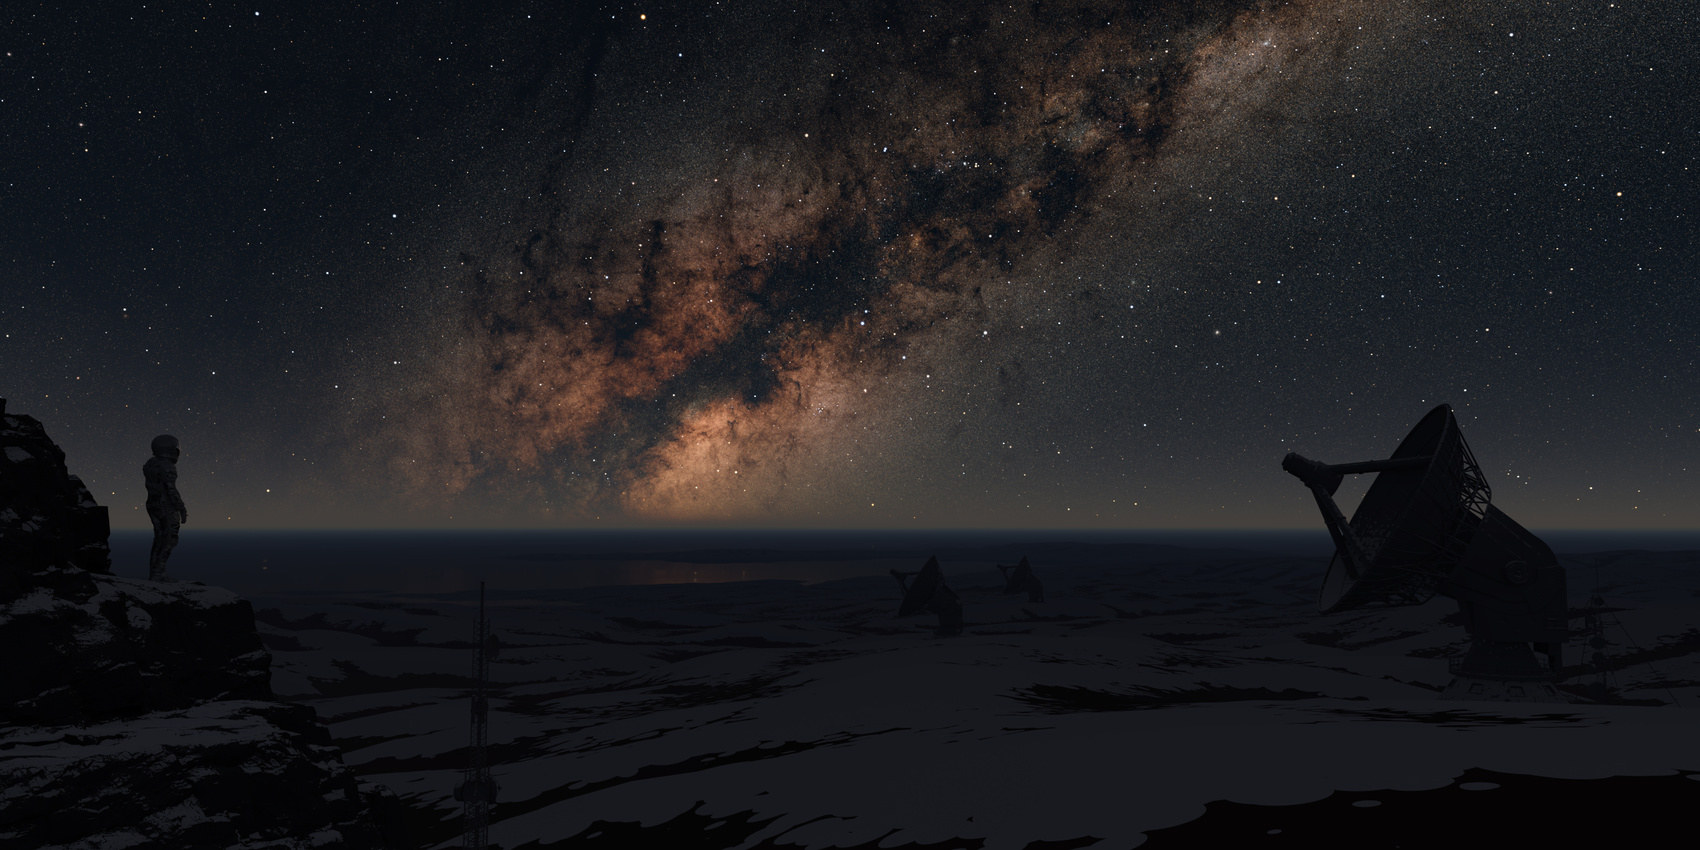
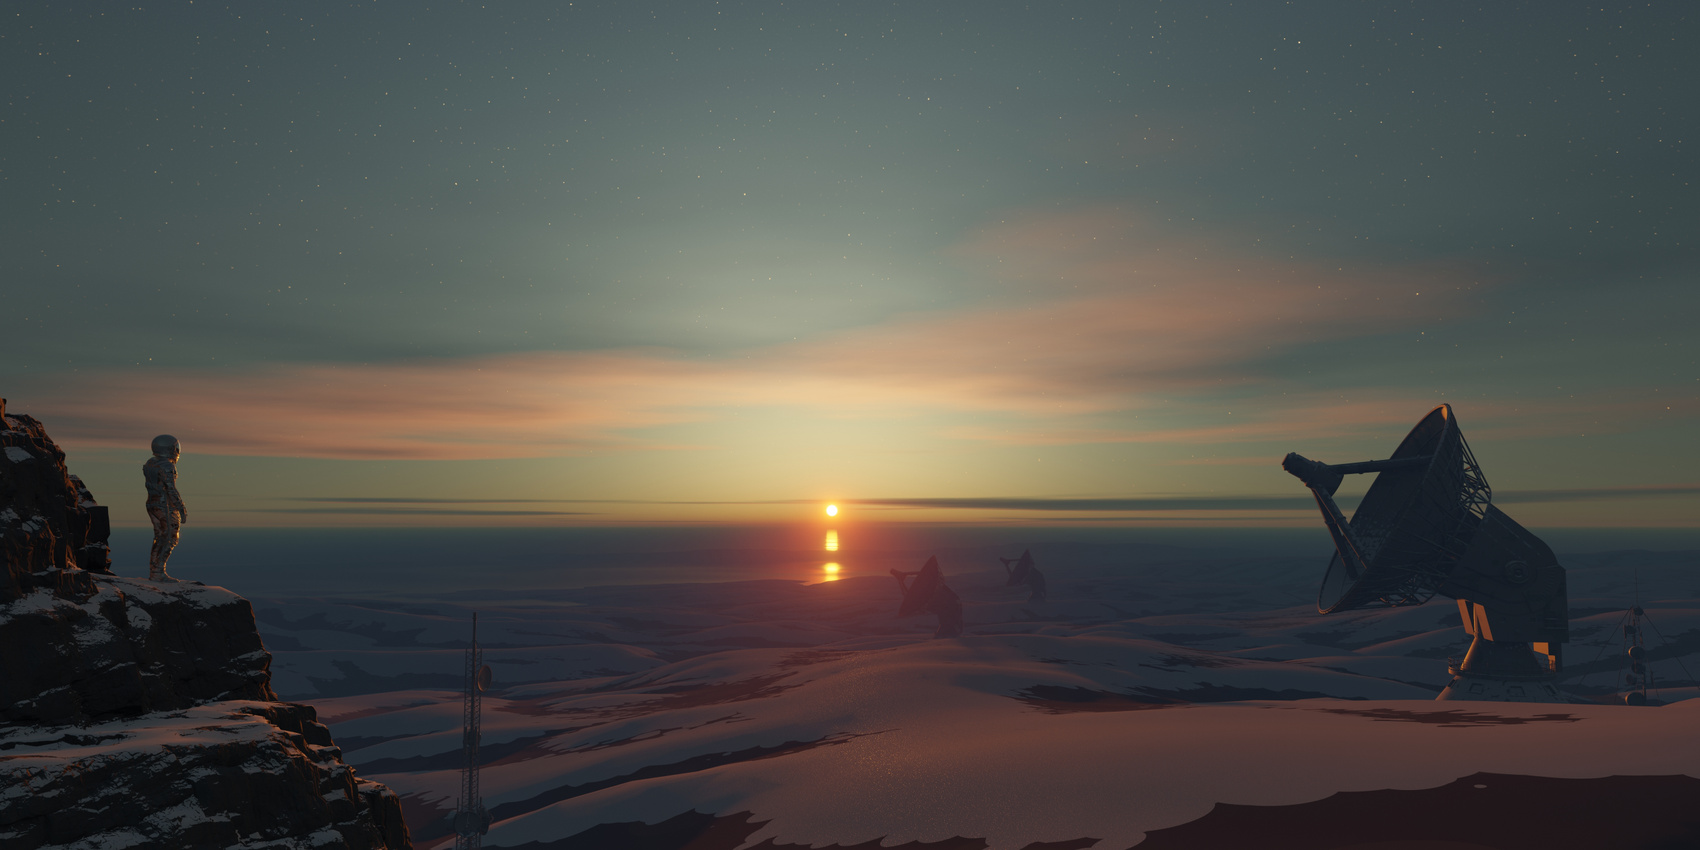
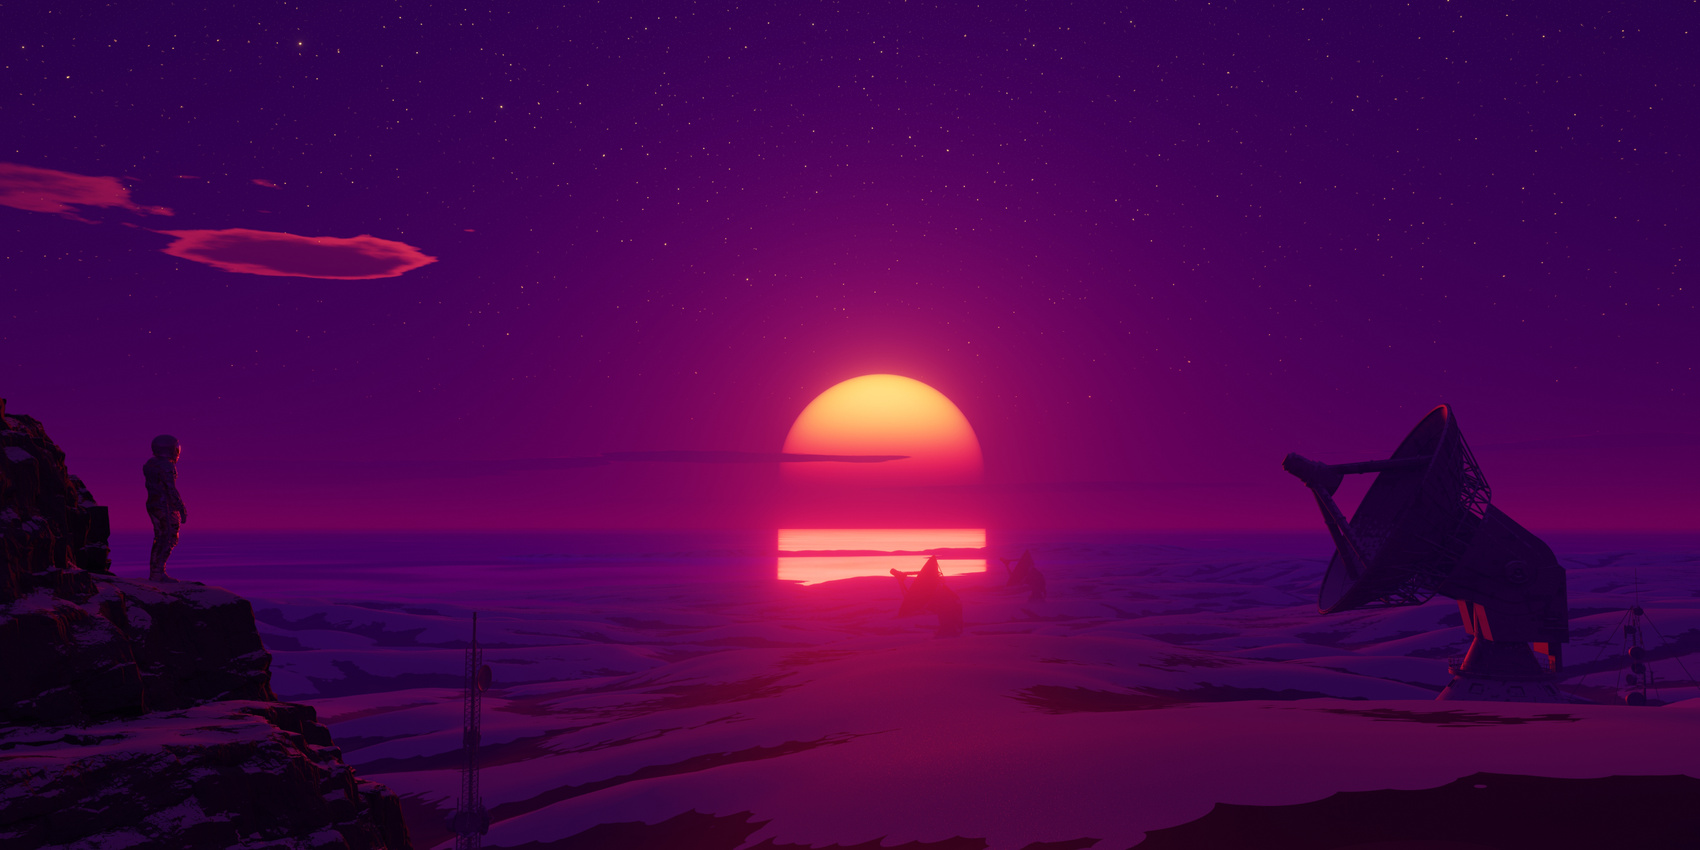
We use a procedural method of calculating the atmosphere based on many tweakable parameters, so that sky color is not limited only to the Earth's atmosphere.

Works well in combination with Blender Sun Position addon. You can simulate any weather at any time.

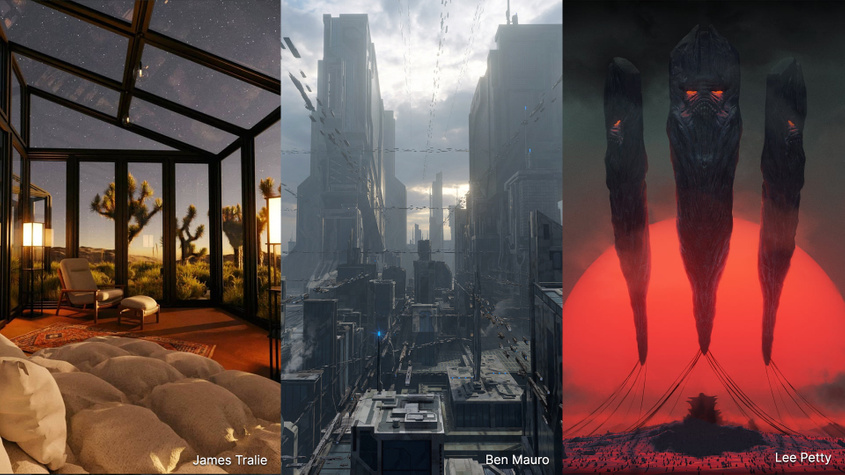
"Physical Starlight and Atmosphere has been an invaluable tool for me in my personal/professional work and a huge missing link for lighting in Blender. It still feels like magic every time I use it, I can't recommend it highly enough!"

"Physical Starlight and Atmosphere has been an essential add-on for all of my environmental design projects. It gives me such incredibly flexibility and control over the look and feel of my renders. Lighting is key for any project, and this add-on always gives my work that extra edge."

"As a lighting artist, focusing on the overall mood of an image is super important. Physical Starlight and Atmosphere is based on reality, so I can spend all of my time iterating on the look without worrying about how to achieve it. "

"I love the tool. It has been my go-to since I picked it up a couple of months ago."

"My work life has become super easier since I started using Physical Starlight and Atmosphere, it cut down a lot of technical headache associated with setting up a believable lighting condition and gave me more time to concentrate on the creative part of my design process."
In the pantheon of first-person shooter history, few titles hold as sacred a place as Counter-Strike 1.6 . Released in 2003, it became the gold standard for competitive tactical shooters. Yet, alongside its rise, a silent arms race was unfolding—not with bullets, but with code. Among the most infamous tools in this war was the "OpenGL wallhack."
Unlike modern, kernel-level cheat engines, the CS 1.6 wallhack was a beautiful piece of graphics pipeline exploitation. It didn't "hack" the game; it tricked the renderer. This article dissects the mechanics, the code, and the cat-and-mouse game that defined an era. To understand the hack, you must first understand the canvas. Counter-Strike 1.6 (built on the GoldSrc engine, a heavily modified Quake engine) offered two renderers: Software (slow, CPU-bound) and OpenGL (fast, GPU-accelerated).
Today, it serves as a historical artifact. For security researchers, it’s a lesson in why render pipelines must be opaque. For gamers, it’s a reminder of a lawless era before sophisticated anti-cheats. And for developers, it stands as the definitive proof that any data sent to the GPU can eventually be manipulated.
This article is for educational purposes only. Manipulating game clients violates the Terms of Service of all major gaming platforms and is considered cheating.
In normal rendering, OpenGL performs a depth test . When a wall is drawn in front of a player, the wall's pixels pass the depth test (they are closer), while the player's pixels behind it fail. The GPU discards the player's pixels.
The wallhack reverses this logic. By hooking the glDepthFunc or glEnable(GL_DEPTH_TEST) calls, the cheat changes the comparison function. Instead of GL_LESS (draw if closer), it uses GL_ALWAYS (draw regardless of depth). The result: The player model is rendered on top of the wall, creating the iconic "ghost" silhouette. // Original game call: glDepthFunc(GL_LESS); // Hooked function: void hooked_glDepthFunc(GLenum func) { if (isRenderingPlayerModel) { // Force depth test to always pass original_glDepthFunc(GL_ALWAYS); } else { original_glDepthFunc(func); } } Part 3: Chams – The Visual Upgrade A simple wireframe wallhack is hard to see. Enter "Chams" (short for Chameleons). Using glColorMaterial and glTexEnv , the cheat disables texture mapping on player models and replaces it with a bright, solid color (e.g., neon green or pink).
Cheaters gravitated toward OpenGL for one critical reason: OpenGL does not "know" it is rendering a wall or a player; it only knows it is rendering triangles with specific textures, depths, and blend modes. By intercepting the communication between CS 1.6 and the GPU, a hacker could alter the rendering logic in real-time. Part 2: The Core Trick – Depth Buffer Manipulation The classic "wallhack" in CS 1.6 does not remove textures or make maps transparent. Instead, it exploits the Depth Buffer (Z-Buffer) .